A Simple Web App
The Goals for this Example
This example is presented for two reasons. First, the description on this page shows you how to
use Visual Studio to set up a web application. Second, you learn how to put a few simple features
onto the form for a web app. These features include labels, hyperlinks, and images.
Using Visual Studio .NET
The following directions tell you how to set up a brand new web application using Visual Studio .NET 2003.
Visual Basic is used as the language. You would follow these directions whenever you want to
create a new web app using Visual Basic. Note that you need to have appropriate access to a web server
in order to complete the steps below. In particular, you must have the needed permissions to create
web pages on the server. The examples below assume that this is done via FrontPage Server Extensions.
Consult the system administrator for your web server if need be.
- Start Visual Studio .NET on your PC. It is probably found under Start, Programs.
- On the start page select New Project (or use File, New, Project).
- For project type, select Visual Basic Projects.
- For template, select ASP.NET Web Application.
- In the location box, put in a reasonable location. Consult your web server
administrator or instructor for the correct form to use in your environment. Here are 2 common examples:
- https://cis3.stvincent.edu/studentc/Pizza
- http://cis2.stvincent.edu/studentc/Pizza
- The first example uses secure access to a web server on cis3. The second is uses
normal access to a web server on cis2. In either case
we are naming this app Pizza and it will be in the web folder for user studentc.
- Click OK.
- You may be prompted for the password to your account at this point. If so, supply it but do not
check the box to save your password.
- If you are denied access, see the system administrator for your server. It is
probably some sort of permissions problem.
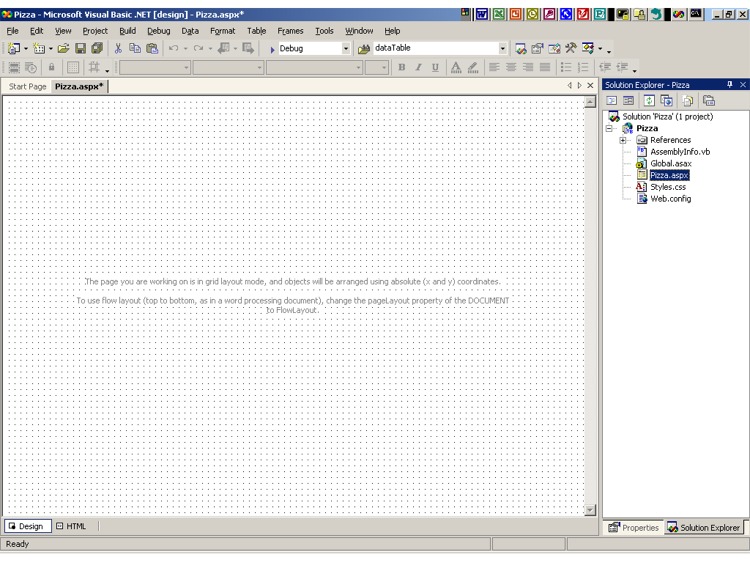
- You should be given a new, empty web form called WebForm1 by default.
- Make sure that Solution Explorer is visible. If need be, use View, Solution Explorer.
- Also make sure that the Properties Windows is visible. Use View, Properties Window if need be.
- Click on WebForm1.aspx in Solution Explorer.
- Click again and change the name of the file to something more meaningful if you wish to do so.
For example, you could change the name to Pizza.aspx.
- You can see what we have at this point in Visual Studio
by looking at this first picture.
|
Creating The Simple Example
Now we will build a simple web app for an imaginary business called Pizza Paradise.
The Toolbox
- At the bottom of the web form mentioned above should be tabs for Design View and HTML View.
Go to Design View. It should show a blank form in gray.
- Open the Toolbox. If necessary, use View, Toolbox to do so.
- Click on Web Forms to show the items under it, if these are not already visible.
- Note that the down triangle to scroll down through the list appears after the last
Web Form item. Although it looks like this triangle goes with the next grouping (Components),
it is really the scroll down button for the Web Forms items.
|
Adding Labels
- Add a label to the top of your form by dragging a label from the toolbox to the top of your form.
- It will have the default name of Label1.
- Reposition and resize this label as desired with the mouse.
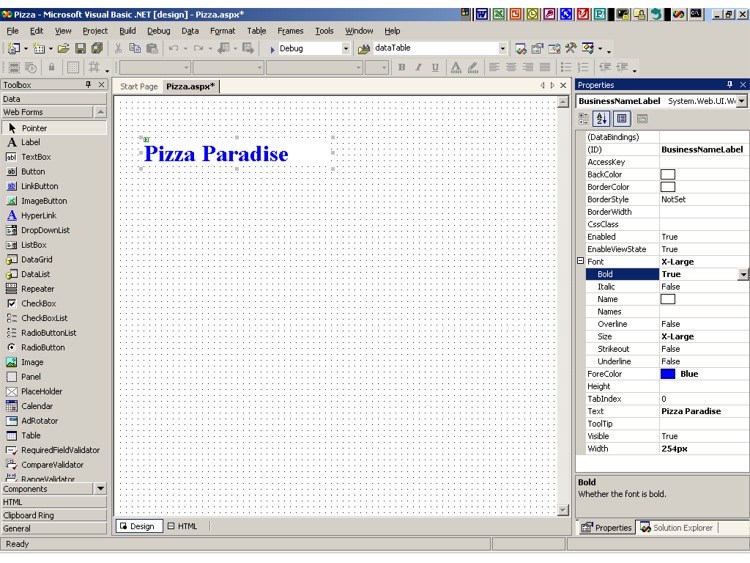
- Click on the label to make sure that it is selected, and then
in the Properties Window change the ID to BusinessNameLabel.
- Also change the text field to Pizza Paradise.
- Change the size of the label. In the Properties Window, click the + in front of Font
to expand it. Go to the Size field and click the value box to the right of it. Click on
the down triangle to look at the choices in the drop down box. Select X-Large.
- Now make the text bold by setting the Bold field to be True. (Note that you can double click
a true/false field to reverse its value.)
- Under Font in the Properties Window, select Foreground Color. Change this color to blue.
- You can see what we have at this point by viewing this second picture.
- Now that you know how to handle labels, add a second label below the first one.
- Make its size to be Large.
- Change the color to blue again.
- The text should read "Only an example, not a real business."
- This is to keep any visitors to your web page from thinking that this is a functional online business!
- Change the ID of this label to DisclaimerLabel.
|
Adding Images
- Note: Read this entire section on adding images before carrying any of it out, as there
are several alternatives discussed here. Decide which method you wish to use before proceeding.
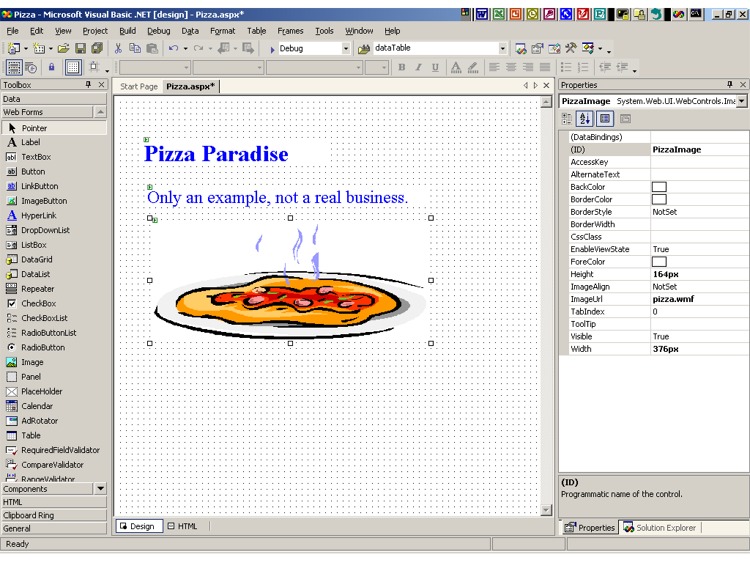
- In the Web Forms section of the toolbox find the Image item and drag it
onto the form just below the labels.
- In the Properties Windows, change the ID to PizzaImage.
- Also change the URL property to point to some image of a pizza.
This URL does not have to even point to an image on the same server. However, in most cases
you would want to have it refer to an image in the same folder as your Pizza.aspx file.
- Depending on your server, you may have a mapped network drive that holds your web apps
and so be able to copy an image file to the Pizza folder for your application.
- Or, you may be able to ftp an image file to this location by using SecureFX or a
similar file transfer software.
- If you have Word 2000 on your PC, you may have a clip art pizza image in
the folder C:\Program Files\Microsoft Office\Clipart\standard\stddir3.
The name of the file is probably FD00785_.WMF.
- It is suggested that you rename it to pizza.wmf.
- If you have your pizza.wmf file in the same folder as your Pizza.aspx file, then the URL
for the image is just pizza.wmf (using what is called document relative URL type).
- If you have your image file on another web server, use the absolute URL type and fill in
a complete URL for this image. For example, the URL might be
http://cis2.stvincent.edu/studentc/pizza.wmf.
- You can either type pizza.wmf into the ImageURL field, or you can click on the 3 dots at
the right of this field and fill in the appropriate items in the Select Image dialog box.
- Probably the best method of adding the image file is to find the image in MyComputer, right click on
it, do Copy, go to Visual Studio's Solution Explorer, right click the icon for your project
(probably named Pizza and one level below the solution icon), and choose paste. That pastes in
a copy of the image file as part of your project.
(Should you get the wrong image by mistake, you can right click on it in Solution Explorer
and select delete.) Note that you still need to adjust the ImageURL field as described above.
- On your web form, resize the box containing the image as needed so that things look good.
- Here is a third picture showing what we have on screen now.
|
Saving Your Work
- At this point it would be good to save the work that we have done thus far.
- Use File, Save All (or the Save All button on the toolbar).
- You may notice that the asterisk on the tab for the Pizza.aspx window goes away.
- An asterisk indicates that the file has been changed since it was last saved.
- If there is no asterisk showing, all changes to the file have been saved.
|
Adding Hyperlinks
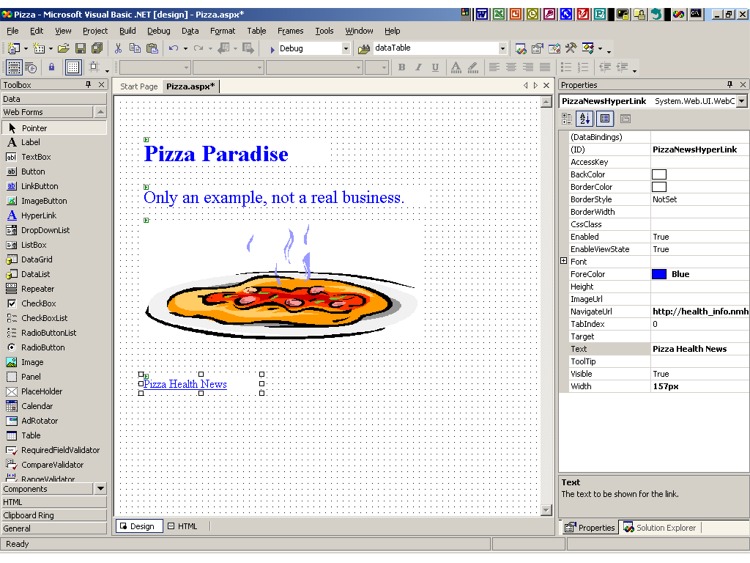
- Next, let's place a hyperlink below the image on your web form.
- Do this by dragging the hyperlink item from the Web Forms section of the Toolbox
and placing it where you want it on the form.
- In the Properties Windows, change the ID to PizzaNewsHyperLink.
- Also set the text to read "Pizza Health News".
- Change the so-called Navigate URL to point to
http://health_info.nmh.org/HealthNews/reuters/NewsStory0721200313.htm or some other news report
about the health benefits of eating pizza! If you use the button with the 3 dots to fill in the
above URL, make sure that you specify that this is an "absolute URL", not a relative one.
- Resize the link as needed.
- Finally, change the color to blue.
|
Aligning Items on the Form
- You can "rubberband" the four items that you placed on the form by dragging the mouse from one
corner to the opposite corner of an imaginary box that contains the four items.
- This selects all 4 items at once.
- Then, use the Align menu item and select Lefts.
- This will align the left edges of the 4 items.
- Take a look at this fourth image to see what we have now.
|
Using Build
- Click on the Save All button in Visual Studio or use File, Save All.
- Then use Build, Build Pizza (or whatever you named your application).
- Hopefully the Output window will give you a message that the build completed successfully.
- If not, take a look to see if you can tell what went wrong.
- If the build completed OK, you have a finished web app!
- You can close that Output window to get it out of your way.
|
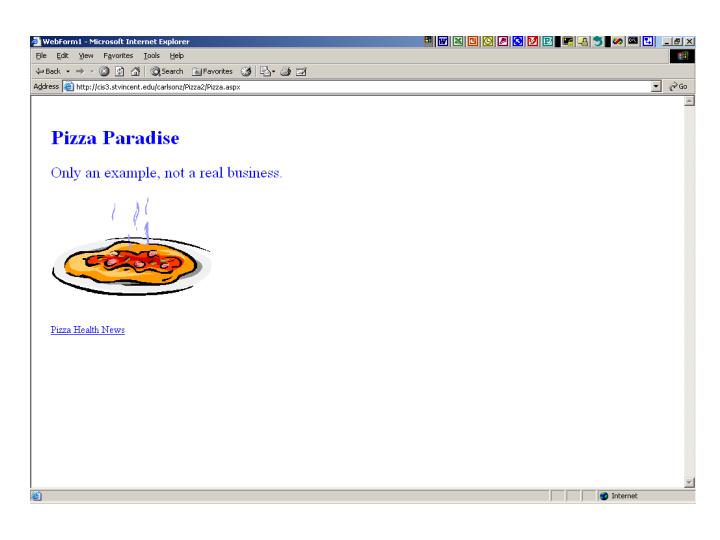
Testing Your Application
- View this screen shot of the completed web app
to see how your web page should look in a browser.
- Then look at yours by going to the appropriate URL in your browser. For example, if you
used one of the 2 examples given at the top of this web page for setting up
the project, then the URL to use here would be one of the following. (These are given in the same
order as the 2 examples for setting up the project.)
- http://cis3.stvincent.edu/studentc/Pizza/Pizza.aspx
- http://cis2.stvincent.edu/studentc/Pizza/Pizza.aspx
- Of course, you need to use the "web address" of your server instead of cis3.stvincent.edu,
and you need the correct folder names that you used in place of studentc and Pizza.
You do not need https to view the completed web app, even though your might have needed
it when creating your project.
- Note that some browsers might not display .wmf graphics files such as your pizza.wmf.
If your browser has this problem, you can switch to Internet Explorer or find
(or create) a .jpg or .gif pizza image and use it instead.
- Congratulations on producing your first web app with Visual Studio .NET 2003!
|
|

 Search CIS Site
Tutorials
Search CIS Site
Tutorials